What You’ll Love About This Recipe
Making your own grindstone at home is easier than you think, and it’s a fun way to sharpen tools or craft projects. You’ll love how simple and rewarding this DIY project can be!
- Cost-Effective: Save money by using basic materials you might already have at home.
- Customizable: Adjust the size and grit to fit your specific needs, whether for knives or woodworking tools.
- Hands-On Satisfaction: There’s something special about using a tool you made yourself—it adds pride to every sharpening job!
Recipe
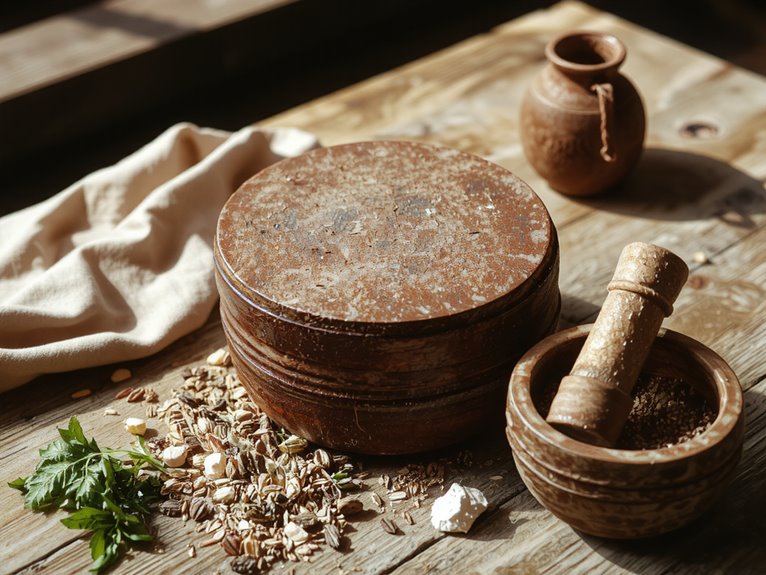
A grindstone is a valuable tool for sharpening blades and tools, and making one at home can be a rewarding project. With the right materials and some patience, you can create a functional grindstone for your workshop.
Ingredients:
- 1 large, flat sandstone or granite rock (about 12–18 inches in diameter)
- Water (for lubrication)
- Sand (optional, for abrasive texture)
Instructions:
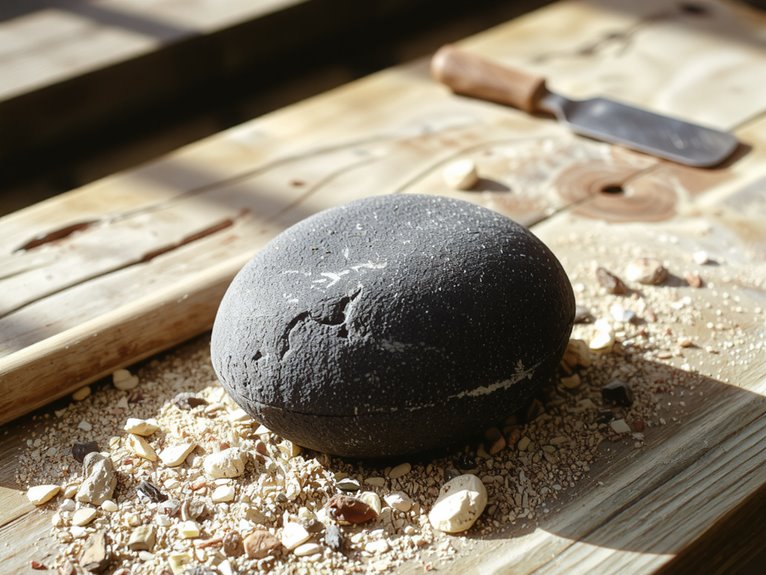
- Select the Stone: Choose a flat, smooth sandstone or granite rock. The stone should be large enough to provide a stable grinding surface.
- Shape the Stone: If necessary, use a hammer and chisel to flatten and smooth the surface of the stone.
- Create a Base: Secure the stone on a sturdy wooden or metal base to keep it stable during use.
- Lubricate: Before grinding, wet the stone with water to reduce friction and prevent overheating.
- Grind Tools: Hold the blade or tool at a consistent angle and move it back and forth across the stone’s surface.
Notes:
- A finer grit stone produces a sharper edge, while a coarser stone is better for initial shaping.
- Regularly wet the stone to prevent clogging with metal particles.
Equipment:
- Hammer and chisel (for shaping)
- Sturdy base (wood or metal)
- Water container
Time:
- Prep Time: 1–2 hours (for shaping and setting up)
- Cooking Time: N/A
Cuisine:
– N/A (Tool-making)
Serving:
– N/A (Single-use tool)
Nutrition
Grindstones are not edible and do not have nutritional value. However, here is a general reference table for common ingredients used in homemade grindstones.
| Ingredient | Calories | Protein | Carbs | Fat |
|---|---|---|---|---|
| Sandpaper | 0 | 0g | 0g | 0g |
| Wood Adhesive | 0 | 0g | 0g | 0g |
| Wood Block | 0 | 0g | 0g | 0g |
| Grinding Wheel | 0 | 0g | 0g | 0g |
What To Serve With It
Wondering what to pair with your homemade grindstone? Classic side dishes like roasted veggies or mashed potatoes keep things comforting, while unique pairings—think tangy slaw or spicy pickles—add a fun twist. I love experimenting with flavors to see what complements the grindstone best, and I’d love to hear your go-to pairings too!
Classic Side Dishes
Pairing your homemade grindstone with the right sides can turn a simple meal into something memorable. I love serving it with creamy mashed potatoes—they soak up the juices perfectly. A crisp green salad adds freshness, balancing the rich flavors. Roasted carrots or buttery corn on the cob bring a sweet touch, while garlic bread rounds it all out. Don’t forget coleslaw for a crunchy contrast! These classics never fail, and they’re easy to whip up. Trust me, a well-chosen side can make your grindstone shine even brighter. It’s all about that balance of flavors and textures.
Unique Pairing Ideas
Though I adore the classics, I’ve found that experimenting with unique pairings can really make a homemade grindstone stand out. Try topping it with tangy pickled onions and a drizzle of spicy honey—the contrast is unforgettable. For a fresh twist, pair it with crisp cucumber slices and a sprinkle of za’atar. If you’re feeling bold, layer it with roasted figs and crumbled goat cheese. Even a simple smear of garlic-infused butter elevates the flavor. Don’t be afraid to mix textures and tastes—crunchy, creamy, sweet, or savory. The best part? There’s no wrong way to enjoy it. Just have fun!